
I’ve heard The French make fun of Americans for buying croutons. That’s fair. We should probably also be ridiculed for buying Panko Bread Crumbs.
I decided to look into homemade panko after running short for a recipe I was making. I have a hard time judging how much panko I’ve got near the end of a box and I seem to run short often enough to get annoyed with myself. There isn’t much in those little boxes to begin with. I finally thought, “How hard can it be to make this?”
I had mistakenly assumed panko bread crumbs were made with rice flour since they are a Japanese creation. It turns out they are made from yeasted wheat bread that is cooked with an electric current and yields a bread without crusts. Legend has it that Japanese soldiers in World War II baked a crustless bread with the electric current from 12 volt batteries. That bread that was eventually repurposed into panko.
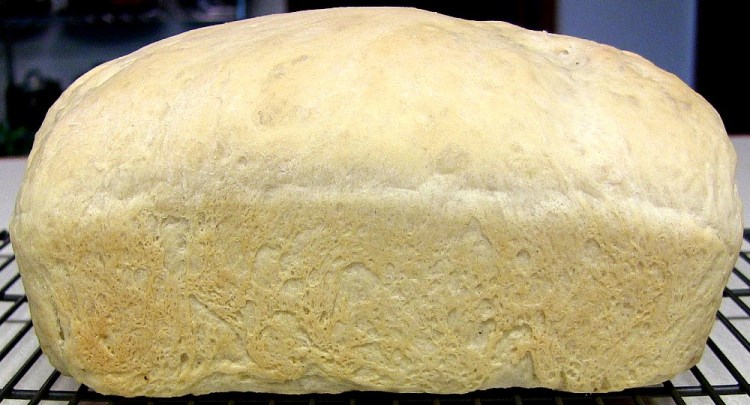
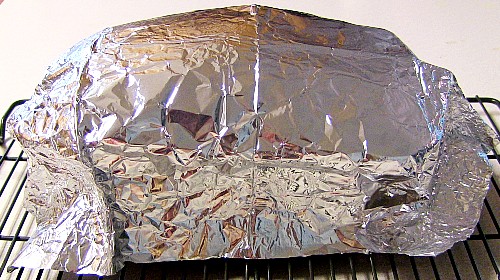
The key to baking a loaf of bread suitable for panko in a conventional oven is to make the plainest, whitest bread imaginable. No sugar, no eggs – just white flour, yeast, salt and water; tenting the loaf with aluminum foil half-way through the baking time will minimize browning.
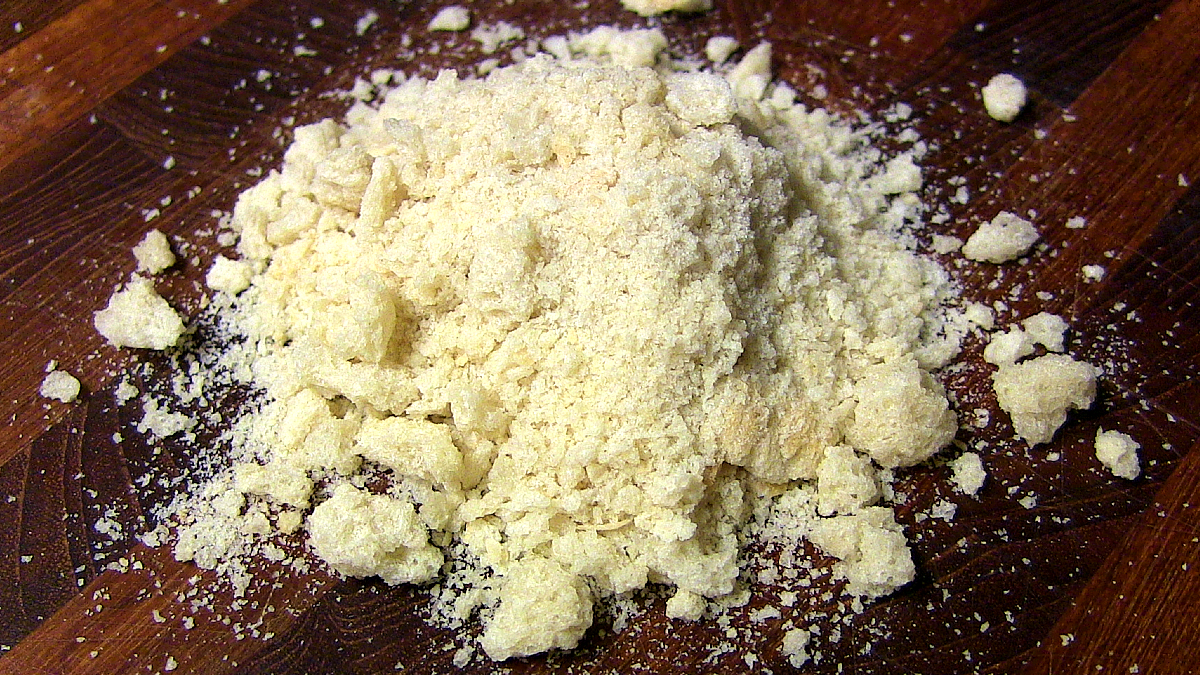
It’s important to force moisture out of the bread crumbs in an oven in order to get the kind of crisp, dry breadcrumbs associated with panko. Just letting the bread dry at room temperature will give you a kind of stale bread texture since moisture will remain trapped inside the structure of the bread.
Ingredients:
- 540 grams (4 ½ cups) All Purpose White Wheat Flour
- 2 tsp. Yeast
- 2 tsp. Kosher Salt
- 297 grams (1 ⅓ cups) Water
Directions:
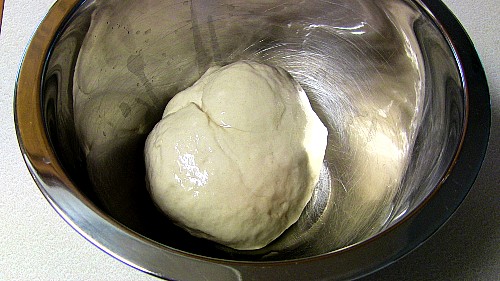
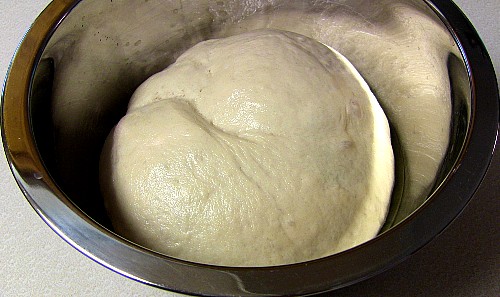
Step 1: Combine the dry ingredients. Mix in warm water and knead for 10 minutes. Set aside in an oiled bowl, cover and let rise until doubled in size – about an hour.
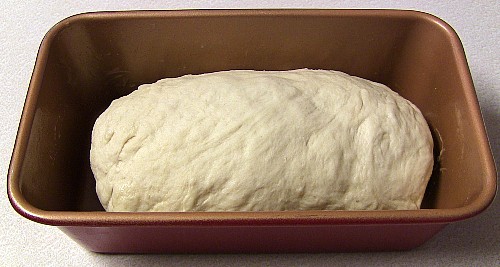
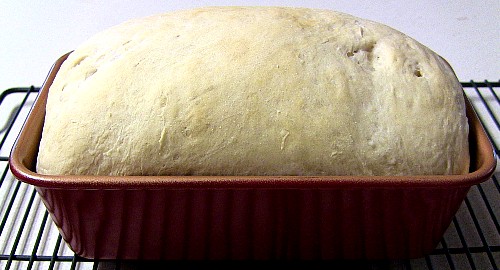
Step 2: Knead the dough for a good two minutes. Use oil or non-stick spray to coat a standard 8 ½ x 4 ½ x 2 ½ inch loaf pan. Place the dough in the pan and mold into an oblong shape to fill the pan. Set aside to rise until the dough gets about an inch above the rim of the pan.

Step 3: Bake at 350° for 20 minutes, tent with foil and bake another 20 minutes. It’s also a good idea to rotate the loaf at the half-way point to ensure even baking. Let cool.
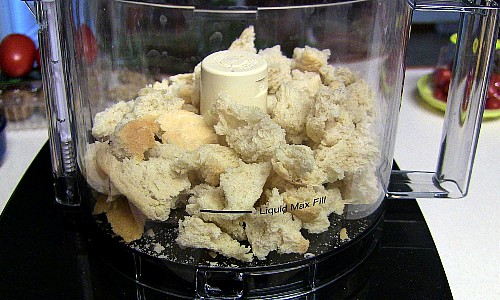
Step 4: Tear the loaf into small pieces and spread out over two large sheet trays. Dry the bread out by baking in an oven at 275°F. for 45 minutes, stirring occasionally.

Step 5: Use a food processor to break down the dried pieces into a smaller texture.

Notes:
Making this bread really points out how important sugar is to browning. People have a tendency to think sugar is a foreign ingredient that has no legitimate place in bread baking. Not true. It’s not only important for browning, but it is also important for keeping bread fresh because it is hygroscopic and helps keep bread from drying out.
This bread also refutes the notion that bread yeast needs sugar to activate. The strains of saccharomyces cerevisiae used in modern commercial yeasts are particularly good at gobbling up the carbohydrates in wheat flour.

